A fire water tank can look fine from a distance while corrosion, a stuck valve, or a failed heater quietly takes it out of service. This checklist walks facility and operations teams through a practical visual inspection, from the shell down to level instrumentation. You will also learn which checks you can handle in-house, which findings need a specialist, and how tank type changes what to watch for.
Why Routine Inspection Matters
A fire water tank has one job: hold the full design volume and deliver it the moment the system calls for it. Unlike process equipment, it gives you no daily feedback. It just sits there, which is exactly why problems go unnoticed. Coating breakdown, liner wear, a valve left in the wrong position, or a heater that failed in October can all sit undetected until a pump test fails, an insurer flags the tank, or a real fire event exposes the gap.
Routine visual inspection is one of the lowest-cost ways to protect your fire protection water supply. A consistent walkdown helps catch small problems while they are still small, supports the documentation your insurer and your authority having jurisdiction (AHJ) expect to see, and helps extend the service life of the tank itself.
One thing this checklist is not: a substitute for formal compliance. Inspection, testing, and maintenance of water-based fire protection systems is generally governed by NFPA 25, with frequencies defined in the standard and enforced by your AHJ and insurer. Treat the walkdown below as the layer between those formal inspections, the routine that makes sure nothing drifts in the months when no inspector is on site.
The checklist is organized the way you would actually walk the tank: exterior structure first, then the wet side of the system, from valves and piping down to freeze protection and water level. Work it in order, photograph what you find, and compare against your last walkdown.
The Exterior Walkdown: Shell to Roof
Start with a full perimeter walk and work your way up. You are looking for anything that has changed since the last inspection, so bring the previous photos and notes with you.
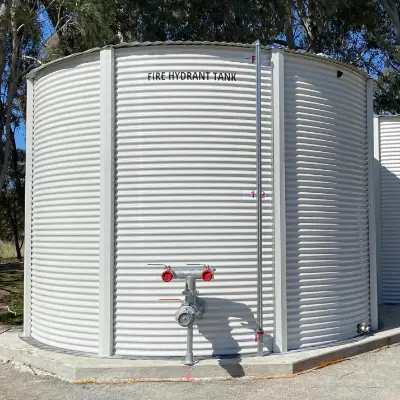
Shell and exterior:
- Walk the full perimeter and look for dents, bulges, or panel distortion
- Check coating condition for blistering, peeling, chalking, or bare metal
- On bolted and corrugated tanks, scan panel seams and bolt lines for staining or weeping
- On fiberglass (FRP) tanks, look for gel coat cracking, fiber exposure, or impact damage
- Confirm exterior labels and capacity signage are legible
Corrosion, wear, and damage:
- Look for rust streaks or staining running down the shell, especially below fittings and seams
- Check where the shell meets the foundation; this interface is a common corrosion point
- Inspect around penetrations, nozzles, and manways for localized corrosion
- On steel tanks with cathodic protection, confirm the system appears intact and note the last test date.
- Flag any area where damage has visibly progressed since the previous walkdown
Roof, covers, and vents:
- Check the roof or cover for ponding water, sagging, or damaged panels
- Confirm vents are unobstructed, with screens intact and free of nests, debris, or ice
- Inspect roof seams and penetrations for signs of leakage
- On lined corrugated tanks, check the liner at the top edge and any exposed surfaces for wear or UV damage
- Confirm the overflow outlet is clear and discharges where it should
Access hardware:
- Confirm ladders, cages, platforms, and handrails are secure, with no loose or corroded fasteners
- Check that manway covers seat properly and gaskets are intact
- Verify hatches and access points are secured against unauthorized entry
- Make sure routes around the tank are clear for inspection and emergency response
Two of these deserve extra weight. Blocked vents can damage a tank during filling or draining by creating pressure or vacuum the structure was never designed to carry, so treat a blocked vent as an action item, not a note. And access hardware determines whether the rest of your inspection program is even possible; a ladder nobody trusts is a tank nobody inspects.
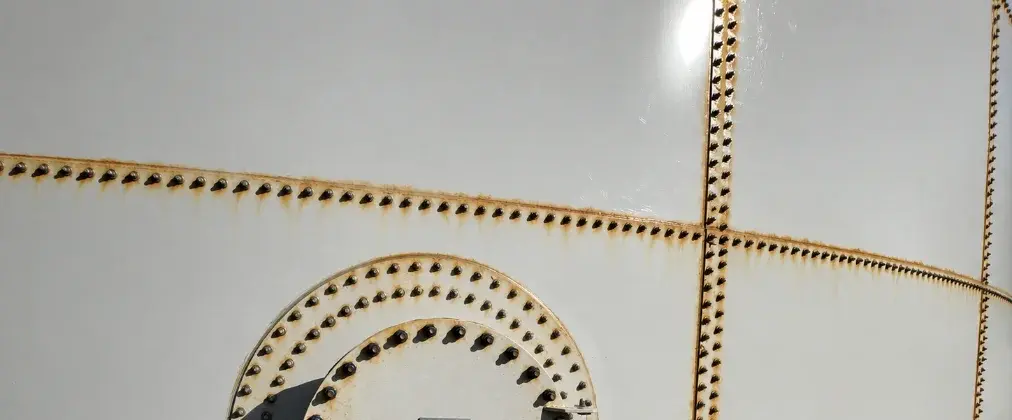
"The shell-to-foundation interface is one of the most common places for corrosion to start. Give the base of the tank a close look on every walkdown."
Valves, Piping, Leaks, and Water Readiness
This half of the checklist covers whether the tank can actually perform. A structurally perfect tank behind a closed valve, or one that is half empty or frozen, is not a water supply.
Valves, fittings, and piping:
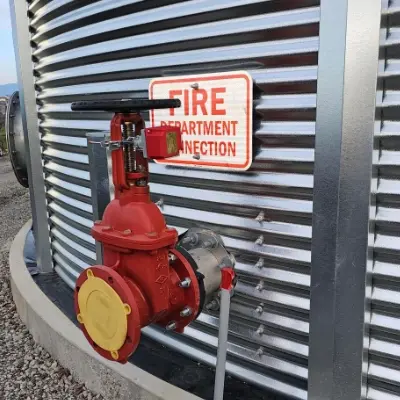
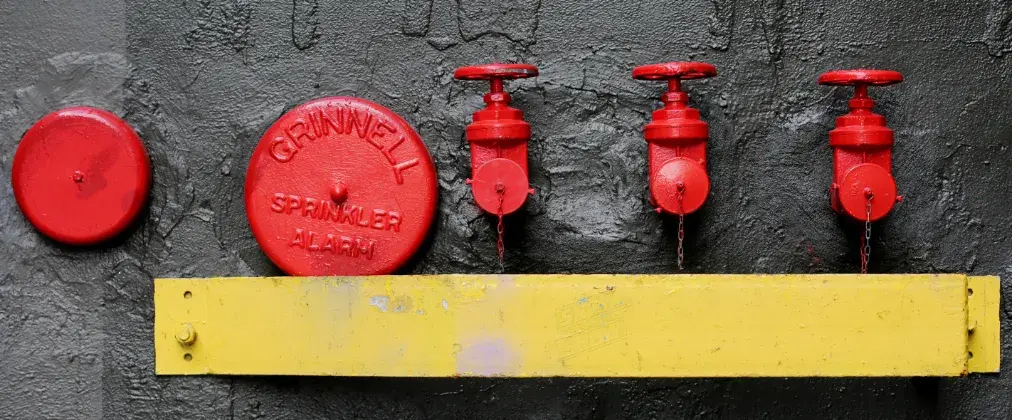
- Confirm control valves are in their correct position, open or closed per system design, and supervised or locked as required
- Look for weeping, staining, or mineral buildup at flanges, fittings, and valve stems
- Check that the fire department connection and suction or discharge piping are undamaged and accessible
- Inspect pipe supports and confirm nothing is placing stress on tank nozzles
- Verify drain valves close fully and do not seep
Leaks and settlement:
- Look for wet ground, standing water, or unusually green vegetation around the tank base
- Check the foundation for cracking, spalling, or washout
- Sight along the tank shell for signs of tilt or uneven settlement
- Note any gaps opening between the tank base and the foundation
Leak detection at the walkdown level is mostly about the ground, not the tank. Persistent damp soil or a stripe of healthy grass in a dry season is worth investigating even when the shell looks dry.
Freeze protection components:
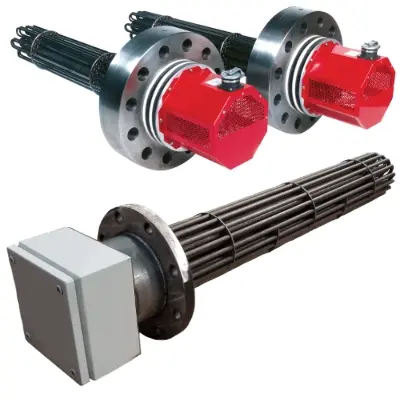
- Confirm tank heaters power on and controls respond Tank Heaters and Freeze Protection
- Inspect insulation on the shell, roof, and piping for gaps, damage, or water intrusion
- Check heat trace on exposed piping for damage, and confirm circuits are energized ahead of cold weather
- Verify temperature monitoring or low-temperature alarms are functional
Build a pre-winter check into your calendar; the worst time to learn a heater failed is the first hard freeze. Our guide to Freeze Protection for Fire Water Storage covers the full cold-weather picture.
Level and instrumentation:
- Confirm the tank is at its required water level
- Check level gauges, sight glasses, or sensors against a known reference where possible
- Verify low-level alarms and remote monitoring signals are reporting correctly
- Confirm the automatic fill or makeup supply operates and shuts off properly
- Record the level reading and date on every walkdown
That last item earns its place. A single level reading tells you very little on its own; a dated series shows trends a single reading cannot. A slow, unexplained drop over weeks deserves investigation as a possible leak.
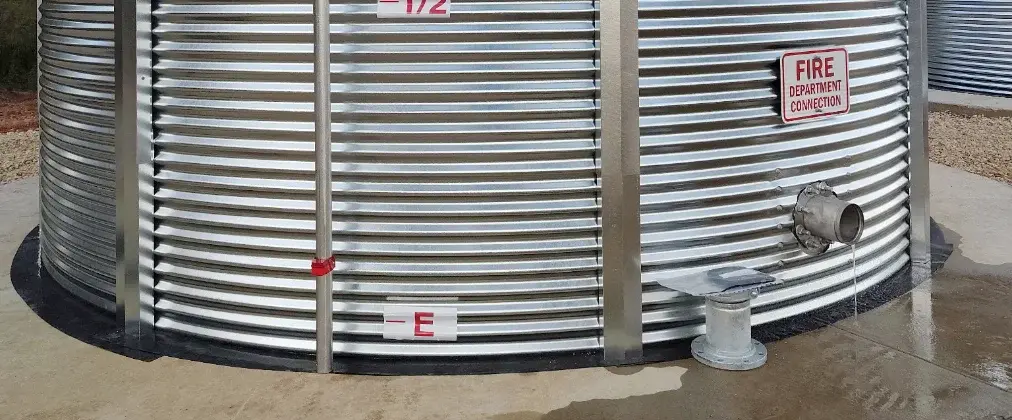
"Two questions matter most on every walkdown: is the tank full, and can it discharge? A closed valve fails the second question just as surely as an empty tank fails the first."
Owner Checks vs Specialist Follow-Up
Everything in the checklist above is owner-level work. It takes a clipboard, a camera, and about thirty minutes. No confined space entry, no draining the tank, no specialized instruments. The goal of the owner walkdown is detection, not diagnosis: you are the early warning system, not the repair crew.
Specialist follow-up is a different tier of work. Bring in a qualified inspector or contractor for:
- Interior inspections, whether drained, by camera, or by dive team
- Coating and lining thickness testing or adhesion evaluation
- Cathodic protection system testing and adjustment
- Ultrasonic thickness testing on steel shells
- Structural evaluation of settlement, foundation movement, or shell distortion
- Repairs to liners, coatings, seams, or fittings
- Any inspection your AHJ or insurer requires to be performed by a certified party
A good dividing line: if the finding requires opening the tank, touching the water, or interpreting a measurement, it belongs to a specialist. Your walkdown is what tells you it is time to make that call.
There is also a category between the two tiers worth naming: documentation. Photograph findings, date every entry, and keep records where your fire protection contractor and insurer can access them. Dated photos showing how a condition developed give a specialist a head start, and when your AHJ asks how the tank has been monitored between formal inspections, your records are part of the answer.
This checklist is provided for general reference only. It is not engineering advice, and it does not replace the requirements of NFPA 25, your AHJ, your insurer, or your fire protection contractor. Always defer to those requirements for your specific system.
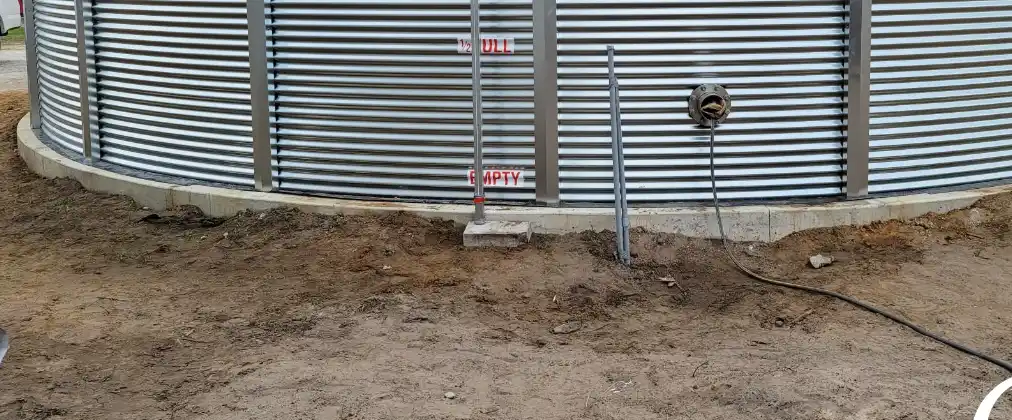
"If a finding means opening the tank, touching the water, or interpreting a measurement, hand it to a specialist. The owner's job is to notice, document, and call."
Findings That Trigger Immediate Action
Most walkdown findings go on a maintenance list and get handled in due course. A handful should trigger a same-day response, because they mean the tank may not perform in a fire event:
- Water level below the required minimum, or a fill system that will not restore it
- Any active leak from the shell, seams, fittings, or foundation interface
- A control valve found closed that should be open
- Evidence of ice formation inside the tank, or heaters found dead during freezing weather
- Visible structural distress, such as bulging panels, significant settlement, or foundation washout
- Blocked or damaged vents
- Corrosion that has progressed to perforation or deep pitting at any location
If any of these show up, document the condition, notify whoever owns fire protection impairments at your facility, and follow your impairment procedures. Depending on the finding, that may include notifying your AHJ and insurer while the condition is corrected.
The common thread in this list is availability. Cosmetic issues, slow coating wear, and aging hardware all matter, but they can wait for a planned repair window. These items cannot, because each one raises the question of whether the full design volume can reach the system right now. That is the lens to apply whenever you find something the checklist did not anticipate: does this affect the tank's ability to perform today? If yes, treat it as an impairment. If no, write it up and schedule it.
If a finding points to components that need replacement, such as heaters, heat trace, liners, or cathodic protection equipment, a Sales Specialist can help you source the right replacement for your tank. Repairs and formal evaluations should go through a qualified contractor or inspector.
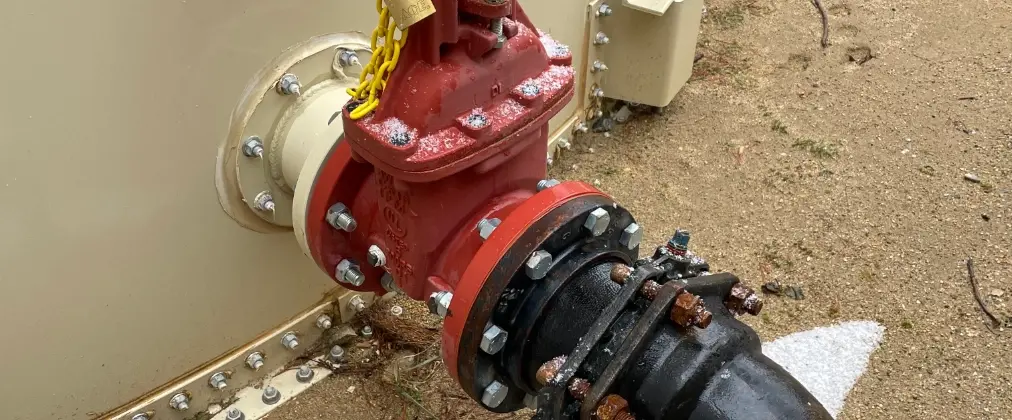
"Low level, an active leak, or a closed valve is not a routine maintenance item. Treat it as an impairment and follow your procedures the same day."
Match the Checklist to Your Tank
The checklist above works for any fire water tank, but where you concentrate your attention depends on what the tank is made of and where it sits.
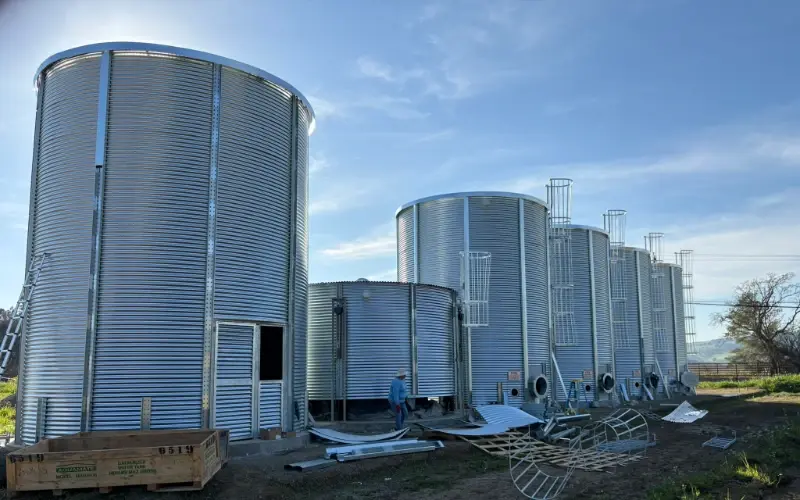
Bolted Steel Tanks concentrate risk at panel seams, bolt lines, and coatings. Watch for staining along seams, coating breakdown, and the condition of any cathodic protection system slowing corrosion on the steel.
Corrugated Steel Water Tanks put the liner at the center of the inspection. The steel shell carries the load, but the liner holds the water, so pay attention to the liner's exposed top edge, its attachment points, and any sign of water reaching the shell side.
Aboveground FRP Tanks trade corrosion concerns for laminate ones. Look for gel coat cracking, UV chalking, impact damage, and stress at nozzle connections.
Underground FRP Tanks limit what a visual walkdown can see. Concentrate on the riser and access points, backfill settlement at grade, water tightness of sumps and covers, and instrumentation health, since gauges and alarms are your main window into the tank.
Modular FRP Panel Tanks are often installed indoors or in tight footprints. Check panel joints and sealant condition, external bracing, the base frame, and whether clearance around the tank has been lost to storage creep.
Environment layers on top of tank type. Freeze-prone climates put heaters and insulation at the top of the list. Coastal and industrial atmospheres accelerate coating wear and corrosion on steel. Sites with expansive or poorly drained soils need closer attention to settlement.
If you are still weighing which tank type suits a site, start with our Fire Protection Water Storage hub and the guide on How to Size Fire Water Storage for a Site. And if you want this checklist in a format your team can print and keep at the tank, request a copy and we will send one over.
"Tank type decides where your inspection time is best spent. Know which component does the real work on your tank, and start there."